First time raising chicks? We’d suggest purchasing a copy of Hatching & Brooding Your Own Chicks by Gail Damerow (available at Harvey’s) for a more thorough treatment, but here’s a quick summary of what you need to know and buy to get started today!
We have all of the products mentioned below available in-store at Harvey’s, from apple cider vinegar to starter feed to heating plates.
Brooder | Bedding | Heat Source | Waterer | Feeder | Starter Feed | First Aid | Chicks

Brooder
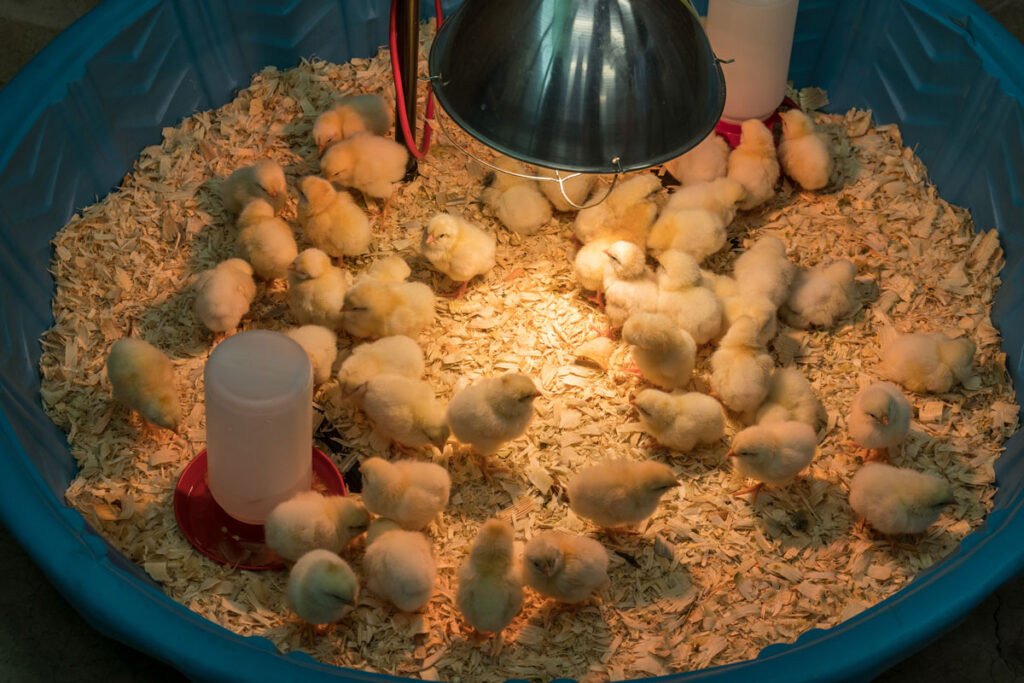
This can be anything from a cardboard box to a wire cage to a stock tank. You just need something to function as the chicks home for a while. We sell Baby Chick Starter Home panels which make an great small scale brooder that stores out of the way when not in use.
When selecting a brooder setup, there are basically 3 factors you need to consider:
- Keep the chicks in
- Keep predators out – including, perhaps especially, house pets!
- Block drafts so you can keep the temperature comfortable.
Often, people ask about how big of a brooder they need. You’ll want enough space for the chicks, a heat source, a feeder, and a waterer. If you only have a few chicks you want a minimum of ~6 SF brooder space.
For a larger number of birds, these are our recommended minimum space requirements per bird depending on how long you expect them to be in the brooder.
- Up to 3 weeks: 0.25 SF per bird
- Up to 4 weeks: 0.5 SF per bird
- Up to 6 weeks: 1 SF per bird
- Up to 8 weeks: 2 SF per bird
Bedding
We recommend regular paper towels for the first couple days – just long enough for the chicks to know what is food vs what is bedding. Once they’re eating well, you can use loose bedding such as kiln dried pine shavings as an economical option. Our favorite is AubiChick hemp bedding for superior absorption with very little dust.
Also, if you aren’t already using biochar on your homestead, this is your chance to start. A scoop incorporated into the bedding will eliminate virtually ALL odors and maintain a more hygienic brooder. When you’re done, just put the bedding and biochar into your compost pile.
Heat Source
Without a mother hen, your chicks must have an alternate heat source. The goal is to provide an environment of approximately 95° for the first week. Then reduce the temperature by 5° each week until you reach 65°. We recommend keeping a cheap infrared thermometer gun nearby as a way to check the temperature.
You have two basic options for a heat source:
- Heat Lamp – The old standby heat lamp with clear, red, or ceramic bulbs still works great. Consider using the ceramic heat bulbs that don’t emit light so you can keep chicks warm at night while still allowing them to have a natural circadian rhythm. (To reduce the risk of fire, a heat lamp should ALWAYS be secured in at least 2 ways – don’t trust the clamp on it’s own!)
- Heating Plate – Heating plates are a bit pricey, but much easier to use, and do a better job of mimicking a mother hen than heat lamps. They also dramatically reduce fire hazard compared to traditional heat lamps.

Waterer
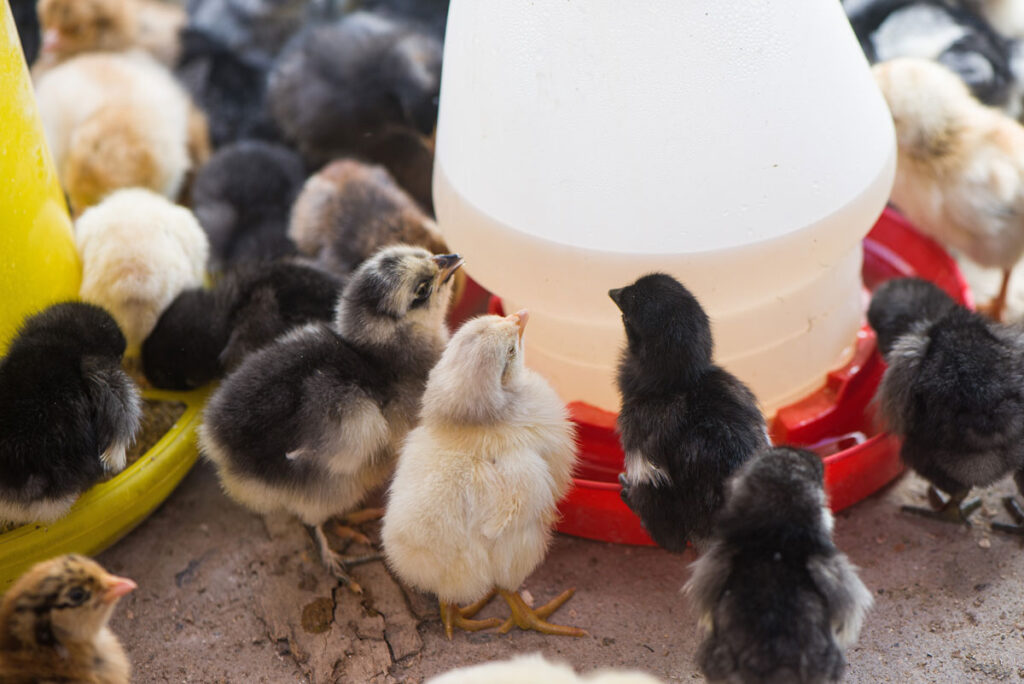
You can start out with a simple jar waterer, but as the chicks grow, you will need something a bit larger.
There are lots of products sold to add to your chicks water, but generally speaking, just plain clear water is sufficient. If you really want to give your chicks something special for day 1, look up Justin Rhodes Magic Water for a good recommendation.
If we are going to add just one thing to their water, a little bit of apple cider vinegar (ACV) can be beneficial in maintaining proper PH in the chicks digestive tract. (Note: make sure to use a plastic waterer if using ACV as it will corrode a galvanized waterer.)
Feeder
We recommend just starting out with a jar feeder, or two if you have more than about 20 chicks. When they outgrow the jar feeder, you can do a small hanging feeder.

Starter Feed
Initially, you just need starter feed, but you’ll want the following items during the 8 weeks or so that the chicks are in the brooder.
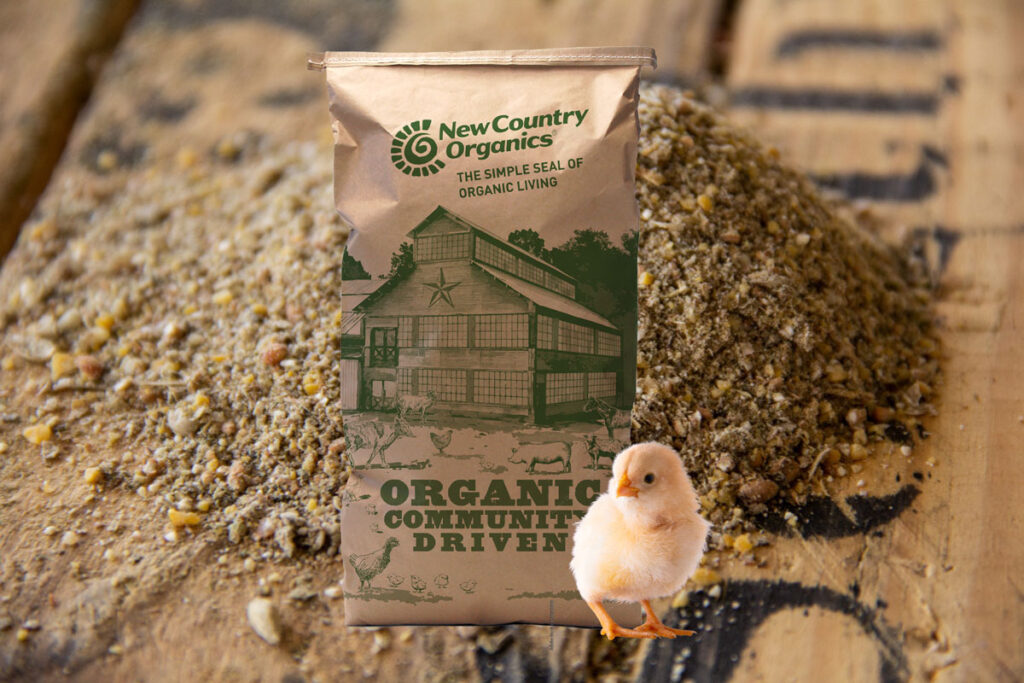
- Starter Feed – This is what you need for the first 4-5 weeks. Plan on approx. 5 lb of starter per chick to get through the first 4 weeks. If you like fermenting feed for your chickens you can start fermenting the chick feed after about the first week.
- Grower feed – The recommended timeframe for switching from starter to grower varies by product line. New Country Organics grower is designed to be fed starting at 4-5 weeks.
- Grit – This isn’t needed while chicks are eating chick starter since it’s already extremely fine. However, we put it out before moving to grower feed.
First Aid
You likely don’t need much here, but we’d recommend having a bottle of Blu-Kote on hand. This is a topical treatment for any minor wounds or bleeding. In addition to helping it heal quickly, it also turns the area blue (instead of red) so the other chicks won’t peck at it.
Chicks
Harvey’s has chicks in-store during the spring. You can also pre-order a wide variety of chicks on our website for pick-up in the store.